The cleat hitch is an essential knot in boating, used to secure a vessel to a dock or mooring cleat. It’s quick to tie, secure, and easy to release, making it vital for any boater.
Why the Cleat Hitch Is Important
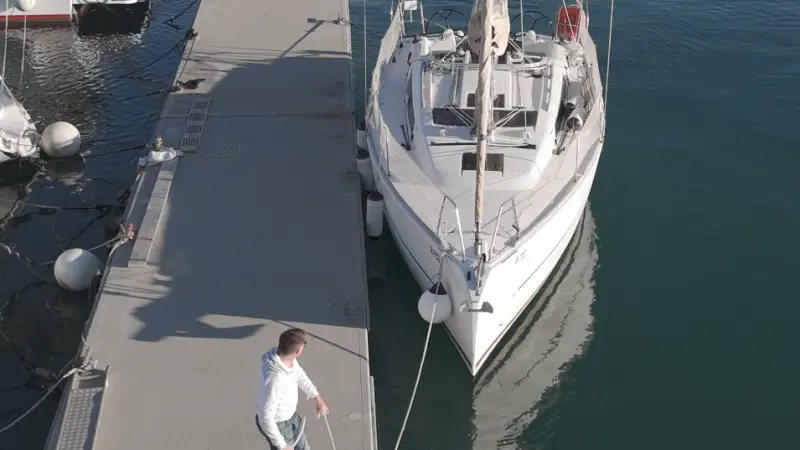
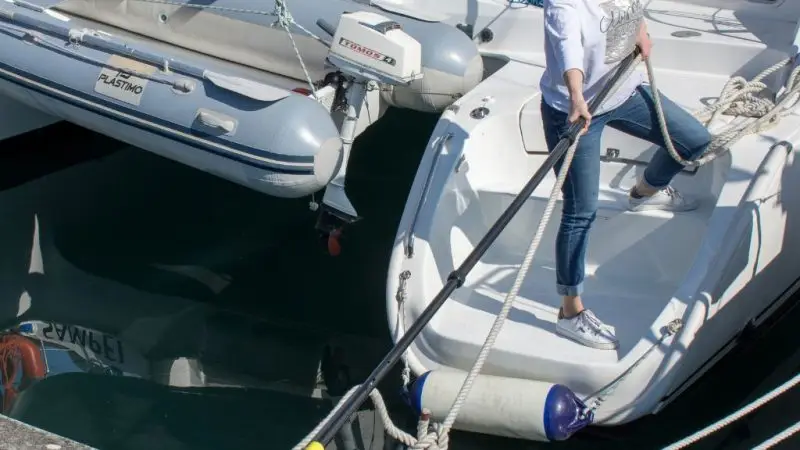
A properly tied cleat hitch keeps your boat securely in place, preventing drifting due to wind, tides, or currents. It distributes tension evenly and ensures the boat stays safe, avoiding potential damage or accidents. Properly securing lines is a critical part of the mooring or docking process and ensures the vessel remains stable when coming into port.
Step-by-Step Guide
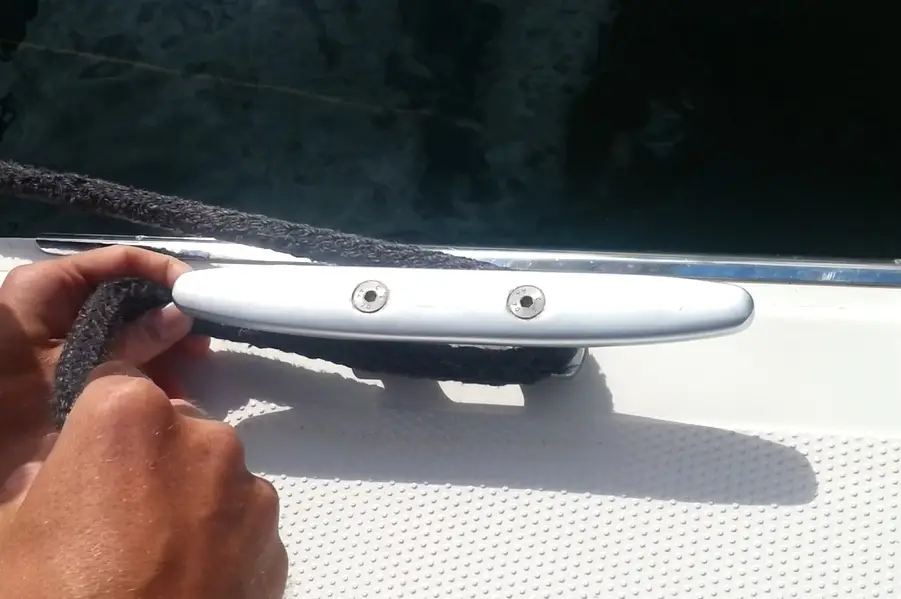
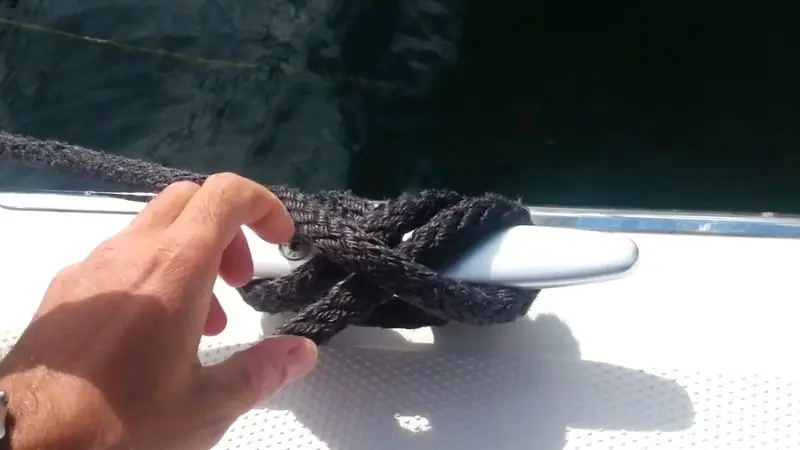
Wrap the Line Around the Cleat Base: Start by taking the dock line and wrapping it once around the base of the cleat. Make sure the line passes under both cleat horns.
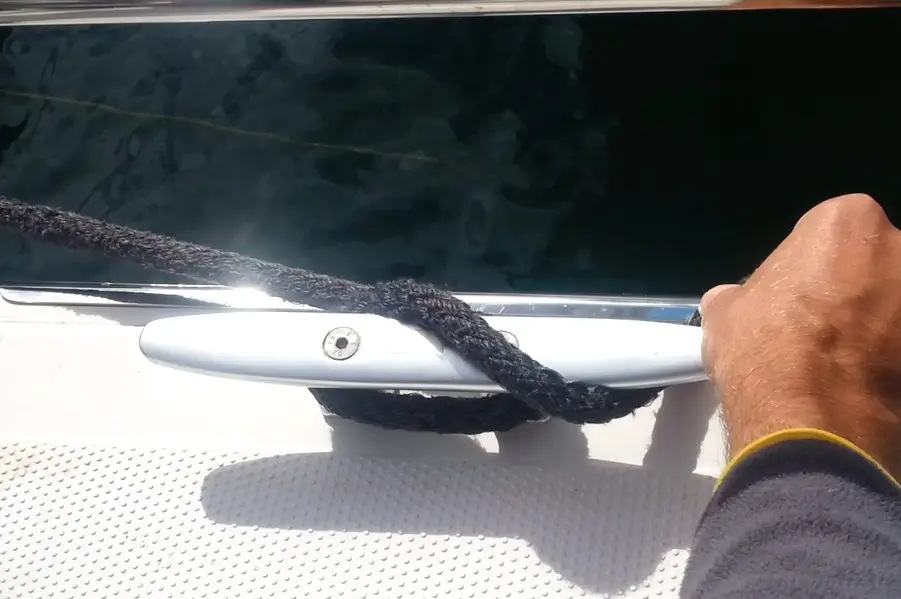
2. Create a Figure-Eight: After wrapping the base, form a figure-eight pattern over the top of the cleat. Cross the line over the cleat, then loop it under the opposite horn. Repeat to ensure the line is well-secured.
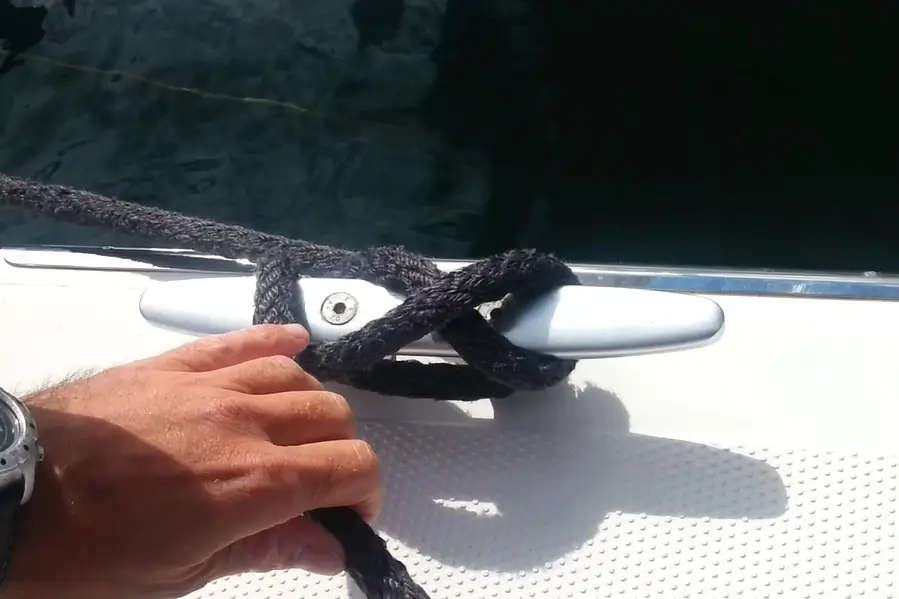
3. Final Lock: For the final step, twist the rope to create a loop and slide it under the cleat horn. Pull tight to secure the hitch.
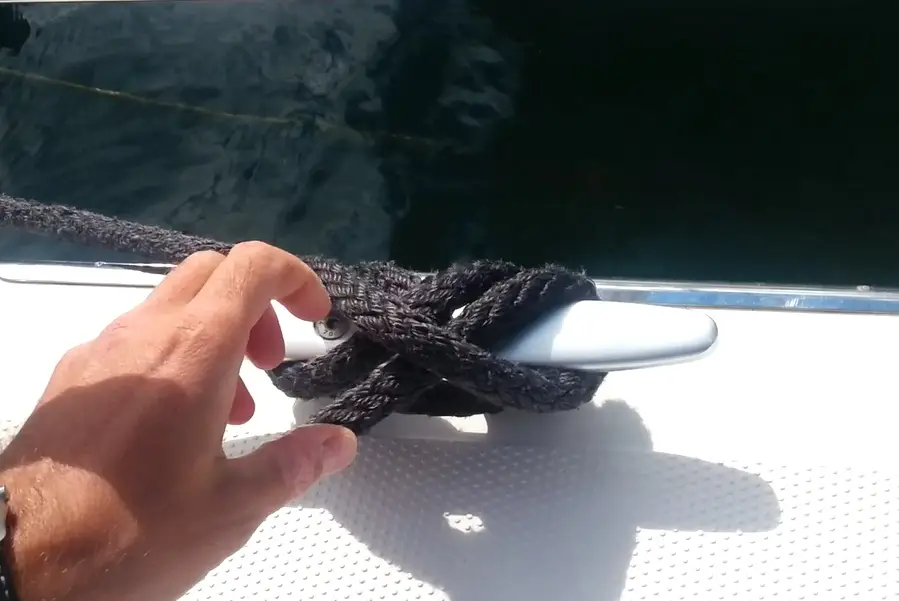
4. It’s done: Gently pull the line to ensure the hitch is secure. If tied correctly, the line should hold under tension but be easy to untie when needed.
Common Mistakes to Avoid
Skipping the figure-eight or over-wrapping can weaken the hitch.
Loose wraps can allow the line to slip off, so always keep it snug.
Mastering the cleat hitch ensures your boat stays safe and securely moored in any condition.
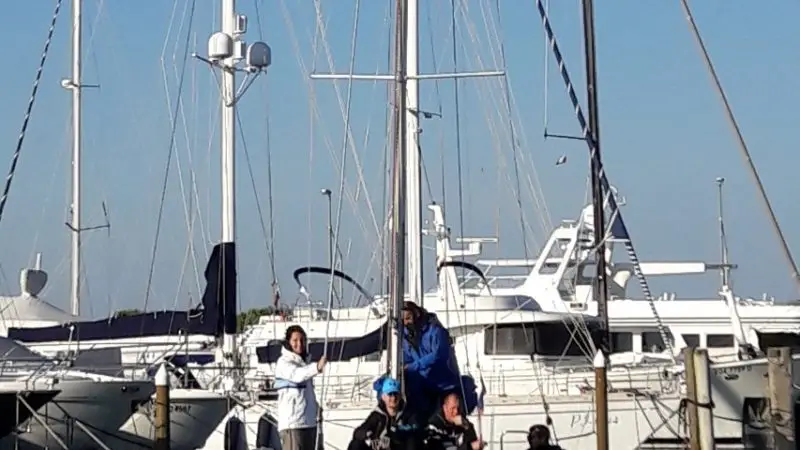
We also recommend visiting nautical schools that offer hands-on training on tying cleat hitches to various types of cleats, including the international Spinaker sailing school.
Title
For a visual demonstration, check out our video tutorial on tying a cleat hitch here.
Avoiding collisions in marinas requires preparation, clear communication, and controlled maneuvering. Assess wind, currents, and traffic, use fenders properly, and maintain...
Mastering solo docking with alongside mooring requires preparation, precise approach, and proper equipment. Secure stern and bow lines efficiently, use fenders...
A skipper’s leadership and crew coordination are crucial during docking. Clear communication, proper planning, and tools like Boatasy Dockhook and GHOOK...